The city scape is finally finished! Really happy with the finished result and Ben can't wait to move into the city ;) In Part One, the building outlines were finished and Part Two was all about adding windows and details back in with the lighter colour. This lighter colour i am using for the windows is the same as the base colour I used to initially paint the top of the walls with.
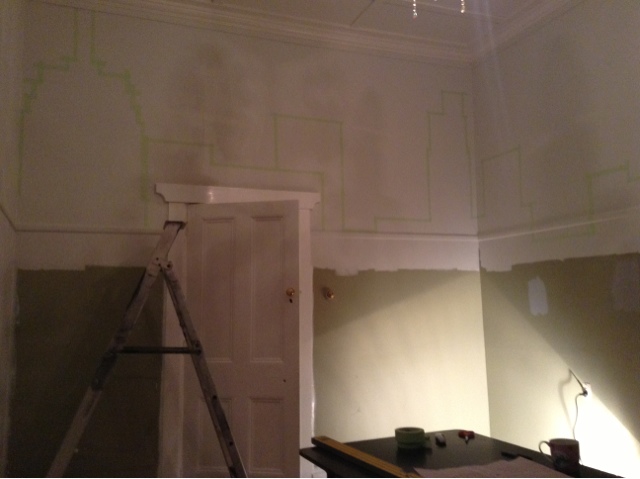
For this part you need painters tape, I used three different widths, and a spirit level that will become your best friend during this process ... nothing worse than having wonky windows when you have gone to this much effort! I went for a skyline like you would see at night, so the big prestigious buildings would have their light effects on and the little buildings would have windows dotted about with lights on from some hard workers still at the grindstone!


Once again, this idea was sprung from all the awesome cityscape wall murals I have seen on Pinterest. While I couldn't get a wall mural for Ben's room that would fit our really tall 3.66m walls (or afford to have one specifically made!), the inspiration that lead to this idea definitely came from all the amazing ideas on my favourite website Pinterest! Ben's room is all about travel, cities, and Lego so if you have a child that might fit in with these decor ideas check out my board on Pinterest Ben's Bedroom for some decor ideas :)
For this part you need painters tape, I used three different widths, and a spirit level that will become your best friend during this process ... nothing worse than having wonky windows when you have gone to this much effort! I went for a skyline like you would see at night, so the big prestigious buildings would have their light effects on and the little buildings would have windows dotted about with lights on from some hard workers still at the grindstone!
Once again, this idea was sprung from all the awesome cityscape wall murals I have seen on Pinterest. While I couldn't get a wall mural for Ben's room that would fit our really tall 3.66m walls (or afford to have one specifically made!), the inspiration that lead to this idea definitely came from all the amazing ideas on my favourite website Pinterest! Ben's room is all about travel, cities, and Lego so if you have a child that might fit in with these decor ideas check out my board on Pinterest Ben's Bedroom for some decor ideas :)